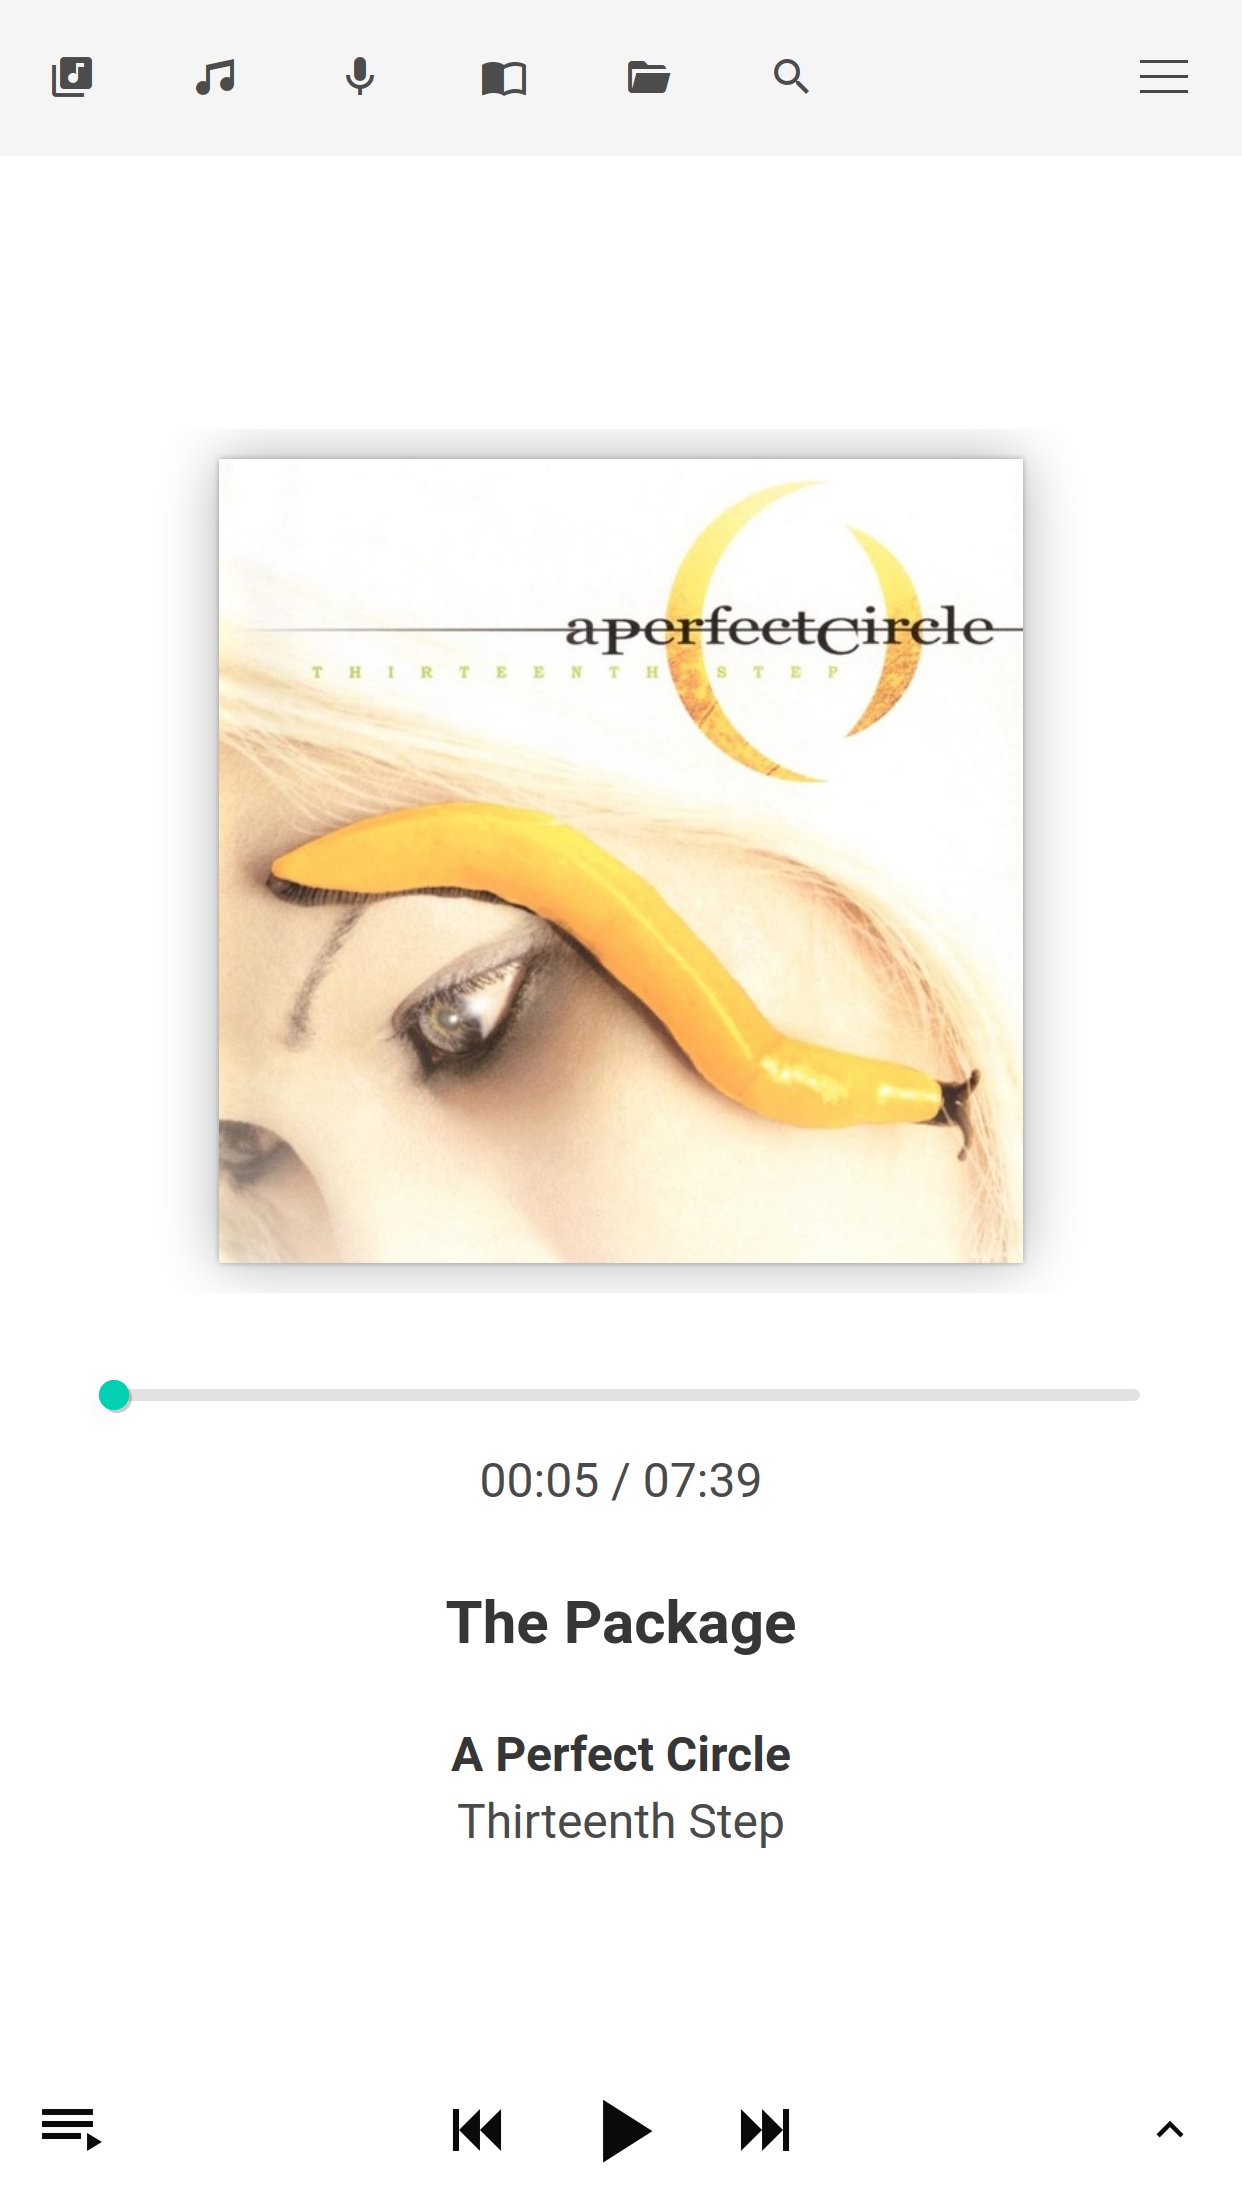
An example single sign on SSO with Authelia and Owntone
Please refer to the previous article to understand what is SSO and how to install and set up Authelia.
What is Owntone ?

Owntone is an open source media server that's probably the best of crowd.
Unlike Navidrome and other subsonic-compatible servers, this server is made to stream your music collection locally (to your Airplay, UPnP, or even your computer) speakers, and/or remotely via HTTP streaming. It's interface is probably the clearest you could find down here, it's not cluttered and it works with extremely low resources on your server.
Think of it as a supercharged MPD server that can play from anywhere (it can stream literally from any source, even a pipe fed with raw audio data) to anywhere.
Yet, it's a mono-user application that doesn't provide any mechanism to authenticate (except for an single admin account).
You typically can't expose this server on the internet, because you don't want any random internet grunt to blast your speakers with the worst song in your collection.
That's exactly where a SSO solution like Authelia shines because it prevent unauthenticated user to even see this server.
Setting up Owntone
I would recommend you follow the installation steps from here
I'm focusing on securing the application once it's correctly installed on your server.
So once you are satisfied with the application, you'll need to change few configuration keys so it's working with SSO.
Once again, we'll run the owntone application behind a reverse proxy, typically NGINX. So we don't need it to listen on your LAN, only on its local private loopback. NGINX will listen to the wide wild web, provide SSL/TLS channels for HTTPS, and manage the load.
Authelia will be used to ensure anyone trying to access it is authorized to do so.
So the first step is to secure owntone by changing the configurations keys so it reads like this:
general {
[...]
    admin_password = "whateveryoudontcaresinceitsnotused"
    websocket_port = 3688
    websocket_interface = "lo"
    ipv6 = true
    bind_address = "::"
Restart owntone and make sure it still works as expected. You can only access it via your server, not from a remote computer, obviously. If you need to access it from a remote compute, you'll need to tunnel the connection via SSH (-L3688:localhost:3688 -L3689:localhost:3689)
NGINX configuration
It's pretty straightforward since it a simple proxy configuration. There a subtlety here, Owntone listens on 2 ports, one for the HTTP server and one for the Websocket server, so your proxy configuration will have 2 server block (3 if you account for the HTTP to HTTPS redirect).
It'll look like this (save in /etc/nginx/sites-available/music.myhome.com):
server {
    listen       80;
    server_name  music.myhome.com;
    return 301 https://$server_name$request_uri;
}

server {
    listen 443 ssl http2;
    server_name  music.myhome.com;

    include snippets/authelia.conf;

    location / {
       proxy_pass http://127.0.0.1:3689/;
       proxy_set_header Host $host;
       proxy_set_header X-Real-IP $remote_addr;
       proxy_set_header X-Forwarded-For $proxy_add_x_forwarded_for;
       proxy_set_header X-Forwarded-Proto $scheme;
       proxy_http_version 1.1;
       proxy_set_header Upgrade $http_upgrade;
       proxy_set_header Connection "upgrade";

       include snippets/auth.conf;
    }

    ssl_certificate /etc/letsencrypt/live/music.myhome.com/fullchain.pem; # managed by Certbot
    ssl_certificate_key /etc/letsencrypt/live/music.myhome.com/privkey.pem; # managed by Certbot
    include /etc/letsencrypt/options-ssl-nginx.conf; # managed by Certbot
    ssl_dhparam /etc/letsencrypt/ssl-dhparams.pem; # managed by Certbot

}

# Need to proxy websocket port too.
server {
    listen SERVERIPHERE:3688 ssl;
    server_name music.myhome.com;

    ssl_certificate /etc/letsencrypt/live/music.myhome.com/fullchain.pem; # managed by Certbot
    ssl_certificate_key /etc/letsencrypt/live/music.myhome.com/privkey.pem; # managed by Certbot
    include /etc/letsencrypt/options-ssl-nginx.conf; # managed by Certbot
    ssl_dhparam /etc/letsencrypt/ssl-dhparams.pem; # managed by Certbot

    include snippets/authelia.conf;

    location / {
       proxy_pass http://127.0.0.1:3688/;
       proxy_set_header Host $host;
       proxy_set_header X-Real-IP $remote_addr;
       proxy_set_header X-Forwarded-For $proxy_add_x_forwarded_for;
       proxy_set_header X-Forwarded-Proto $scheme;
       proxy_http_version 1.1;
       proxy_set_header Upgrade $http_upgrade;
       proxy_set_header Connection "upgrade";

       include snippets/auth.conf;
    }
}
You'll need to adjust the server name (music.myhome.com) and the server local IP address (SERVERIPHERE). You can't just have NGINX listening on any interface on port 3688 (websocket) since Owntone is already listening on the loopback interface, so you must specify the IP address of your server connection to the internet (typically, your LAN IP address).
Please notice the 2 included snippets. The section in the server block create a fake route (/authelia) that's internal to NGINX (not public facing) and that's proxying the Authelia authentication so it runs in the same domain as your application. This way, it can set up and check cookies for the music.myhome.com domain.
The other snippet is simply checking the authentication for any request to Owntone before proxying it. If it's granted, the proxying works else a 302 redirect is performed to Authelia login page in auth.myhome.com.
Create the link to enable the server:
$ sudo ln -sf /etc/nginx/sites-available/music.myhome.com /etc/nginx/sites-enabled/music.myhome.comRestart NGINX via the usual sudo systemctl restart nginx and browse to https://music.myhome.com. You'd be granted with Authelia login page and then directly redirected to Owntone.
If it fails, you might not have the SSL certificate yet, so you'll have to rewrite the path in the ssl_certificate lines to your myhome.com's certificate, then run certbot to fetch a certificate for music.myhome.com via the usual sudo certbot run -d music.myhome.com --nginx.
Congratulations, that was easy!