Replacing the hotend with an E3D
The provided hotend for the Sapphire Plus 3D printer is average. It's not correctly cooled, so it'll fit for PLA well, but it'll be less efficient for PETG. I haven't tried ABS with it. Also, the provided teflon tube has an hole that's too large for the filament and as such, if the hotend does not work correctly, it'll leak at the junction with the 0.4mm injector.
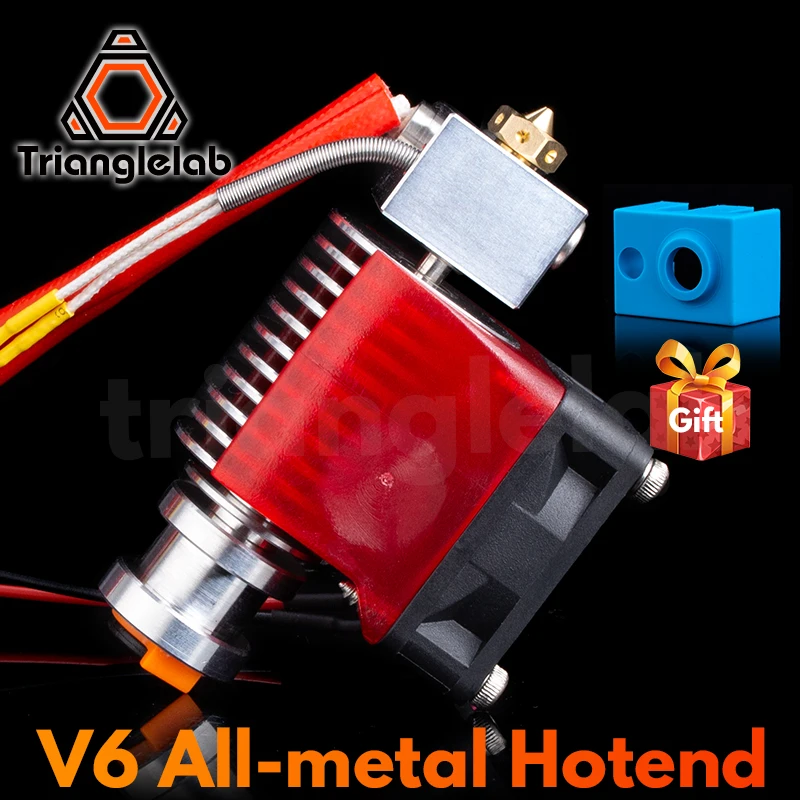
So, replacing the hotend will be required and the sooner, the better. I've chosen an E3D hotend as it's quite cheap, efficient and does not require too much maintenance, see below for the sponsored link.
On a Sapphire Plus, the power lines are 24V so you'll need a 24V version. If you don't find one, you can buy the 12V version but you'll have to swap the heater resistor (the big metallic cylinder) with the one from your current hotend (this is what I did). You'll also need to unmount the 12V 3010 fan (that means the small 30mm x 30mm x 10mm fan on your hotend) and swap it with the one on your machine.
You don't need to change the thermal resistor since it's the same impedance as the one provided (100kOhm) and you'll need to autotune your PID hotend anyway.
Hotend preparing
Before you replace the hotend, you'll need to print pieces in PETG from this link. Use PETG and not PLA since, even if none of them will be touching the hotend, they will still be exposed to a moderate heat that can soften the PLA plastic.
You'll get this (I've modified the model to include threaded inserts, but it'll also work without):
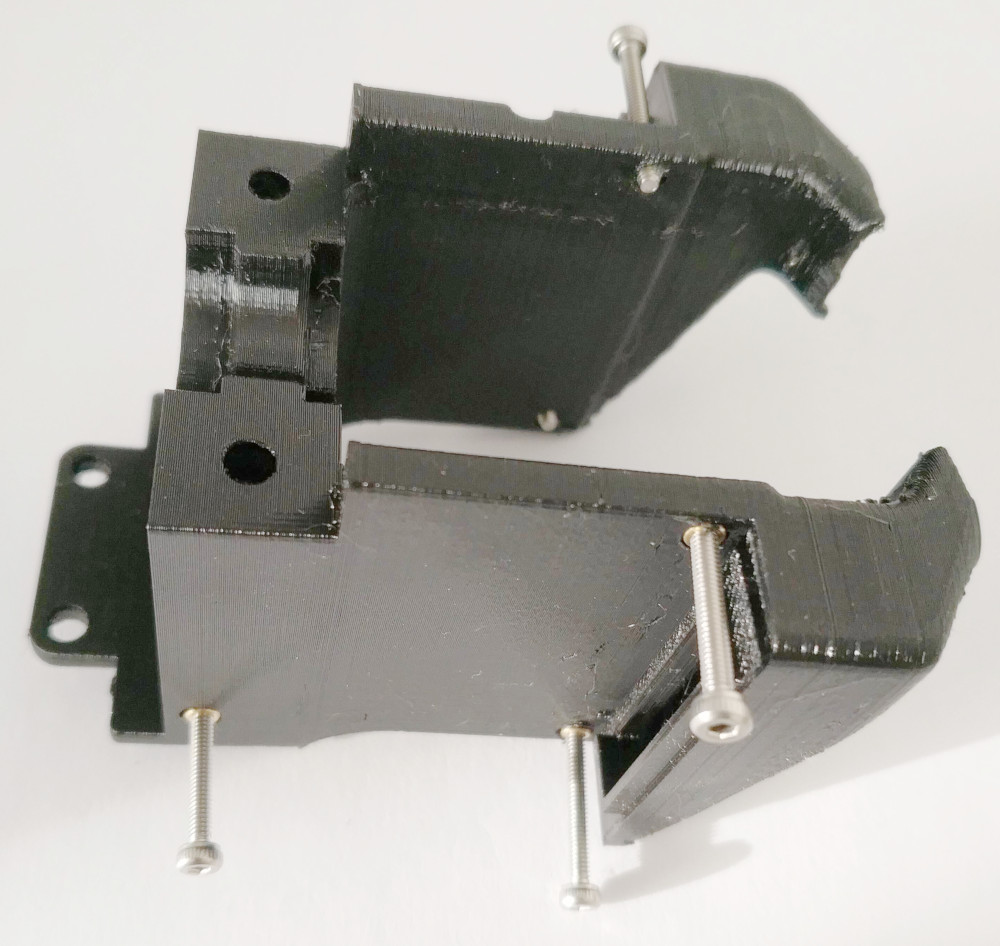
The advantage of this model is that it's reusing the existing fans so you don't need to source different fans and it's quite compact.
Existing hotend disassembly
If you don't intend to replace the fan, you can skip labelling the fans' wires. Else, I advice you label the 3 wires as the fan for the hotend is different from the wires for the cooling of the head.
You'll need to unscrew the actual hotend:
E3D Hotend assembly
If you have never built a E3D hotend, the process is simple:
- In case you need to replace the heating element, remove the previous heating resistor and replace with the new one:

- Then screw the 0.4mm nozzle completely and unscrew by half a turn
- Screw the long tube with multiple screw thread completely until it touch the nozzle
- Mount the radiator on the long tube (you might need to apply thermal paste here if you have any)
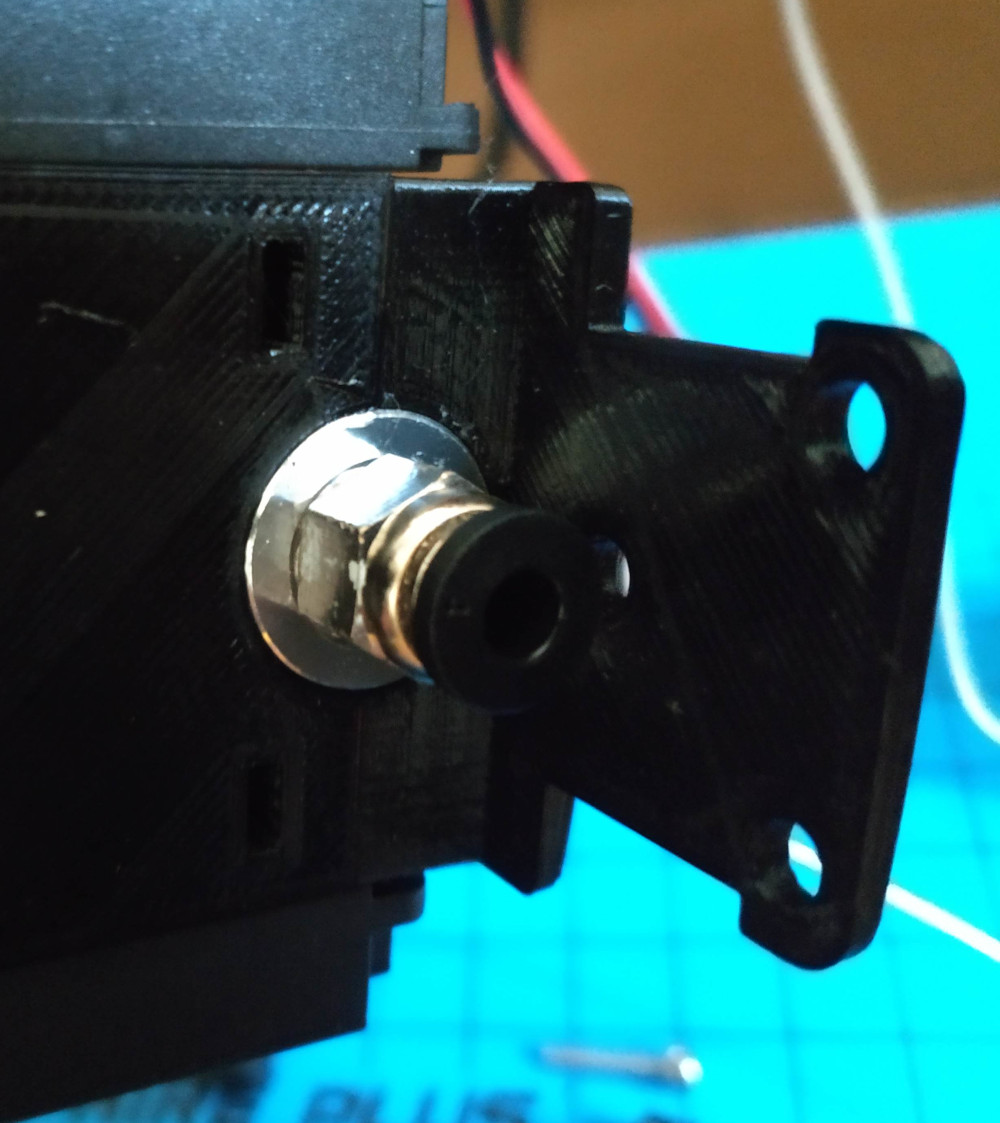
- Mount the teflon hole on top of the radiator

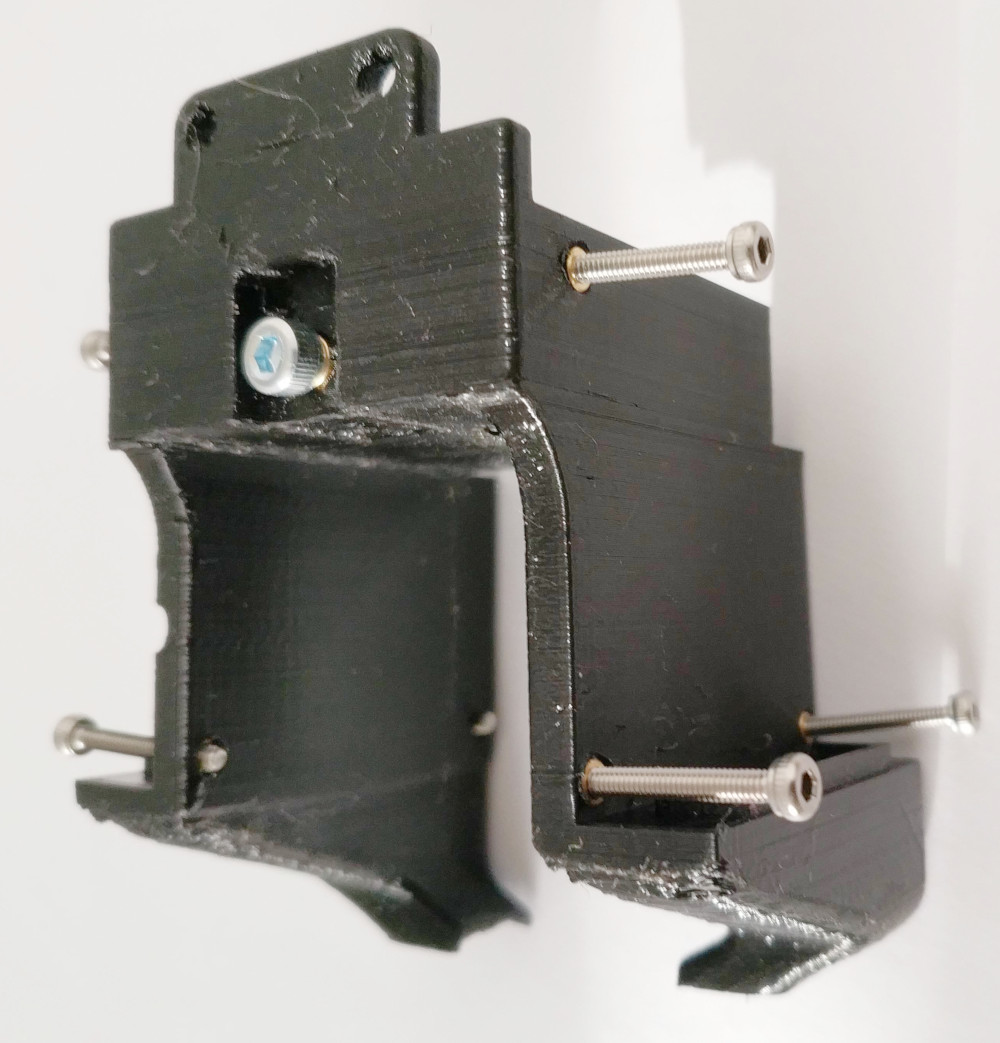
You'd get something like this:

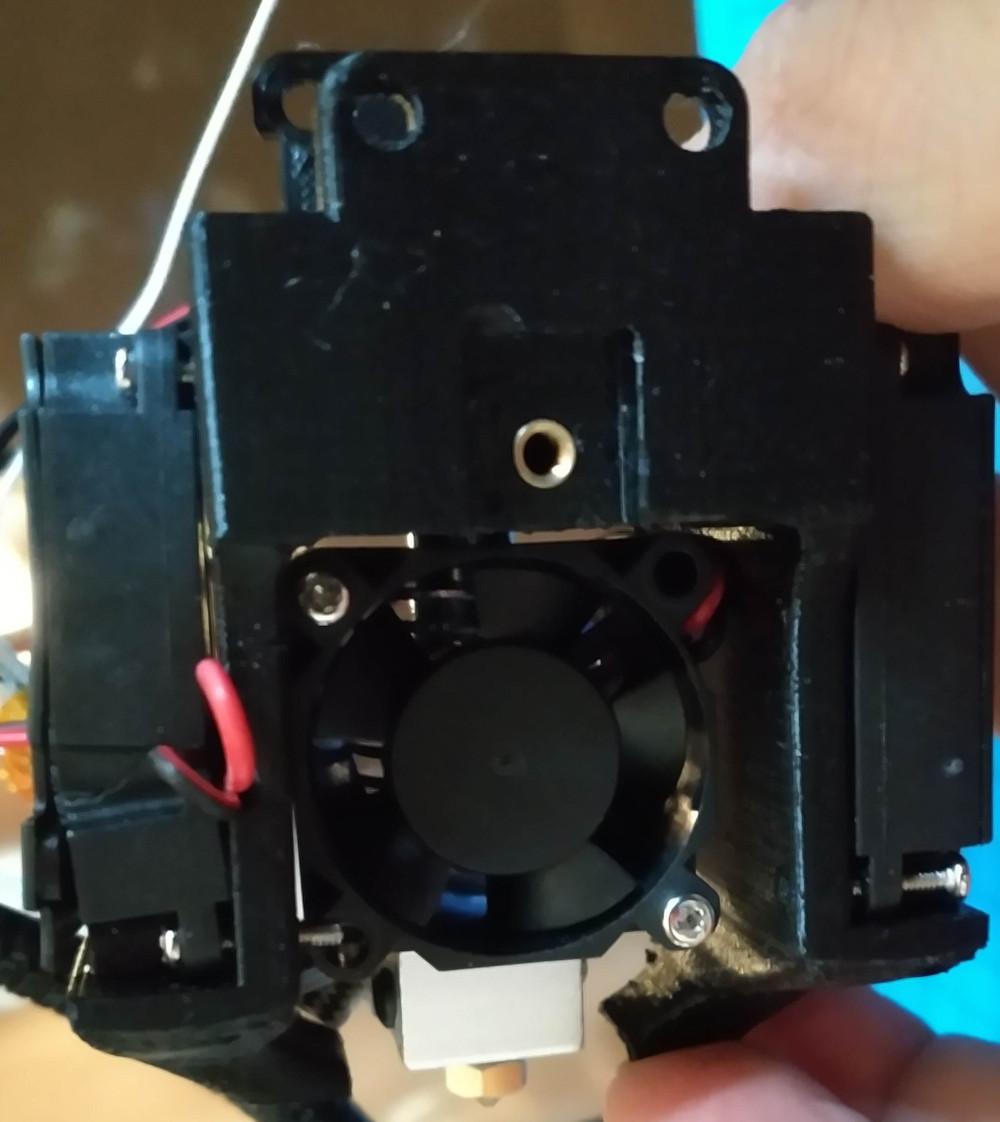
The top of the system will look like this:
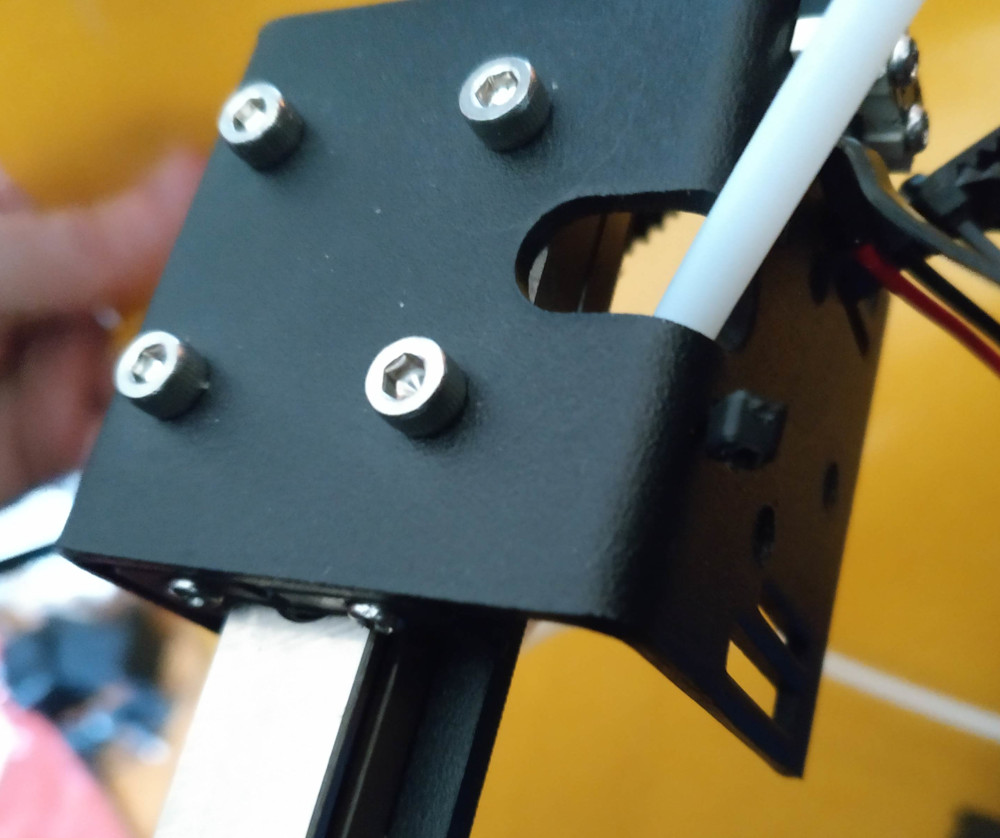
Then insert the teflon tube completely. Fix and connect all the wires/fan and remount on your system.
Optional BLTouch sensor
If you have a BLTouch sensor, you'll need to connect it now like this:

Results
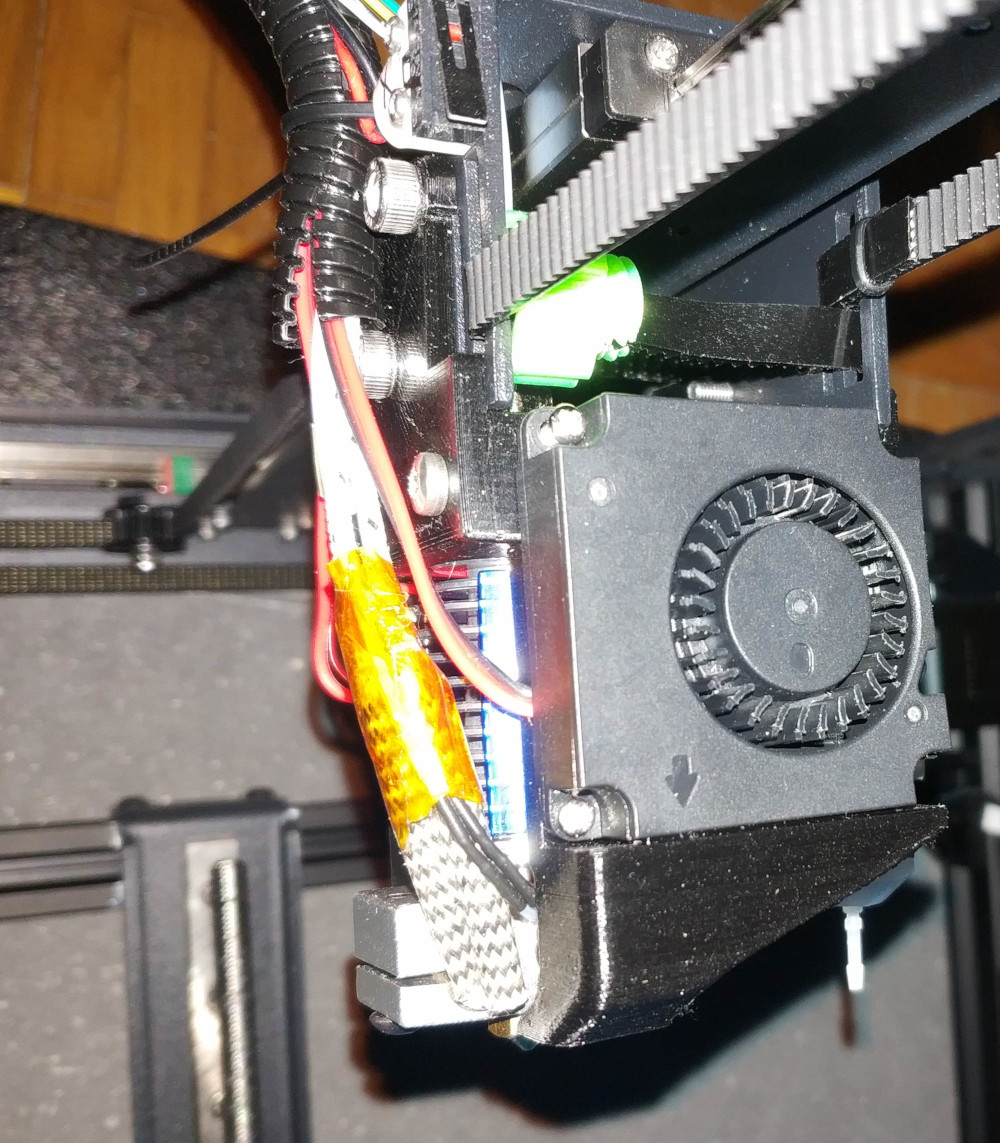
Once everything is installed correctly, you'd get this:
Issues and troubleshooting
Lead screw too long
The E3D hotend is a bit longer that the original hotend, and the provided lead screws are too long so they'll intersect with the hotend if left as is. If you have read my previous post, you'll remember that my lead screw was bent on one side. Yours might be ok, but if it's bent, locate the side where it's bend and select this side to cut (else use whatever side).
Measure the range of intersection, add 1mm and mark your screw like this:

Then disassemble the screw (maintaining the build plate with a ruler is a good idea here to avoid mismatch between both screw height), protect the screw in a plastic bag, tape it carefully (it is full of lube, so double check it's correctly protected) and use your grinder to remove the metal down to the marking tape. You'll need to clean your cut so it can be screwed again once re-assembled. Insert the cut part first so it's not visible from the top.
Finally, perform the same operations for the second screw.
PID tuning
Once everything is set up, you'll need to return your PID value for the new hotend. If you are using Marlin (very likely), then you'll need to connect to the USB/Serial port and launch a M303 S160 G-Code command. If it succeed, launch a M303 S200 U1 followed by a M500 to save in EEPROM.
List of errors to avoid
I advice you check this post about the common errors to avoid while replacing an hotend (selecting a proper hotend, wiring, labelling).
Sponsored links
In order to pay for infrastructure cost for this blog, I'm listing some affiliated links about the hardware listed above.