Assembly tips for Sapphire Plus 3D Printer - Step 2
Step 2: Check voltage on the motor drivers VREF
When I received my printer, the current on the motor drivers wasn't set correctly (it was random, I was lucky they didn't burn on first power up).
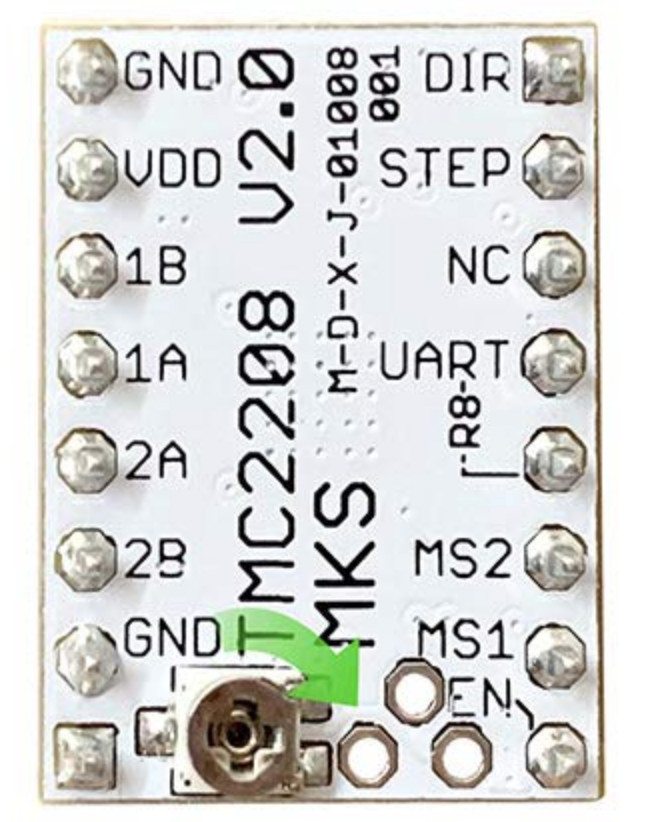
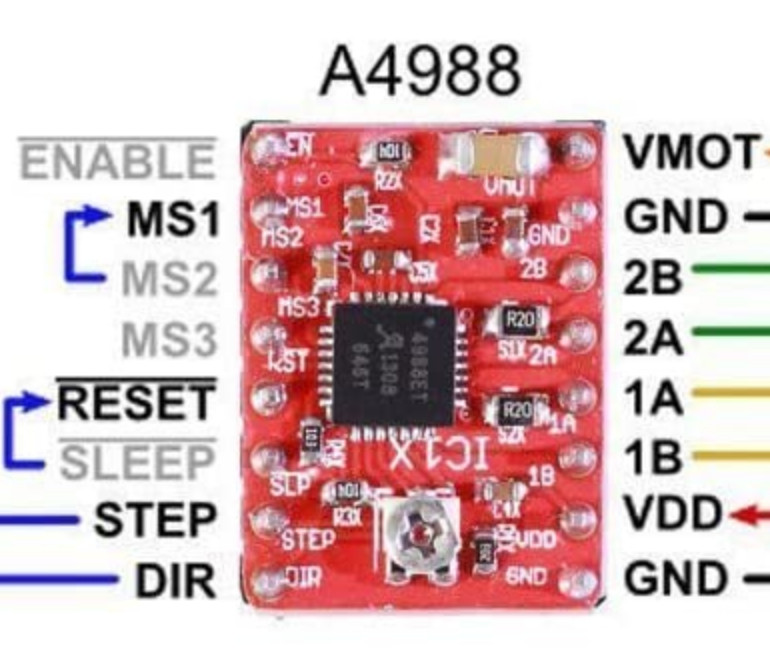
The TMC2208 drivers (see picture above) must have a VRef of 1.2V (for the curious, it's 0.9A) and the A4988 must have a VRef of 1.0V (I think it's 1.4A for both motor, so 0.7A per motor IIUC).
This machine use TMC2208 for X, Y and Extruder motor and one A4988 for both Z motors.
Use your multimeter and power up the machine without the motor plugged, beware not to touch any High Voltage pin on the main transformer (it's far and easily avoidable, but better safe than sorry).
Then measure the voltage between the top-left GND pin and the potentiometer (yes: the metallic part of the potentiometer you must rotate). If it reads 1.2V you are lucky and you can go on to the next driver.
If it's too low, power off the machine and turn the potentiometer screw clockwise BY A VERY SMALL ANGLE since it's very very sensitive. Obviously, you'll need to turn the screw counter-clockwise if you need to reduce the current. Shutting the power between each try is painful, but it prevents frying your board if you make a shortcut with your screw driver.
Once you have the right voltage, you can resume building your printer from the manual's first step.
Step 3: Mount the columns and roof
You just need to follow the manual here, mount the 4 columns and the roof on your printer.